
Step-by-Step Guide for DIY Tile Installation in New South Wales
Expert Tips from Sydney Tiling Specialists
Transforming your bathroom or kitchen with new tiles can significantly increase your home's value and visual appeal. Our step-by-step guide will walk you through the essential techniques and tips needed for a successful tiling project, saving you money while ensuring quality results.
Many DIY enthusiasts hesitate to tackle tiling projects, believing they're too complex or require specialised skills. We've simplified the process into manageable steps that any homeowner can follow, using readily available tools and materials from local Australian suppliers.
Professional tiling results are achievable with proper planning and attention to detail. We'll guide you through surface preparation, tile layout, cutting techniques, and finishing touches that meet Australian building standards.
Key Takeaways
- Proper surface preparation and accurate measurements ensure long-lasting tile installation
- Quality tools and materials from local suppliers lead to professional-looking results
- Regular maintenance and correct grouting techniques protect your tiling investment
Understanding Tile Installation
Installing tiles requires precise measurements, proper tools, and careful preparation to achieve professional results. Our comprehensive guide walks through the essential supplies and tile types suited for DIY projects.
Types of Tiles Suitable for DIY
Ceramic tiles offer an excellent starting point for DIY projects, with their durability and water resistance making them perfect for bathrooms and kitchens.
Porcelain tiles provide superior strength and moisture resistance, though they're slightly harder to cut than ceramic. These work brilliantly in high-traffic areas.
Natural stone tiles like slate and travertine add unique character but need regular sealing. We recommend these for experienced DIYers due to their specific installation requirements.
Large-format tiles create a modern look with fewer grout lines, yet they demand precise levelling. First-time installers should start with standard 300x300mm tiles.
Tools and Materials Required
Essential Tools:
- Tile cutter or wet saw
- Spirit level
- Spacers
- Notched trowel
- Grout float
- Sponges and buckets
Required Materials:
- Tiles (plus 10% extra for cuts/breakage)
- Tile adhesive
- Grout
- Waterproofing membrane (for wet areas)
Quality tools make a significant difference in the final result. We strongly recommend investing in a proper tile cutter rather than using manual scoring tools.
Clean rags, knee pads, and safety equipment like goggles and gloves are crucial for comfort and protection during installation.
Preparing for Installation
Proper preparation sets the foundation for a successful tile installation project that will look great and last for many years to come.
Measuring Your Space Accurately
We recommend measuring your space at least twice to ensure accuracy. Start by sketching a basic floor plan on graph paper, marking all walls, doors, and fixtures.
Calculate the total square metres by multiplying the length and width of each section. Add 10% extra to account for cuts, breakage, and future repairs.
Make note of any odd angles or curves that might require special cuts. These areas often need additional tiles for precise fitting.
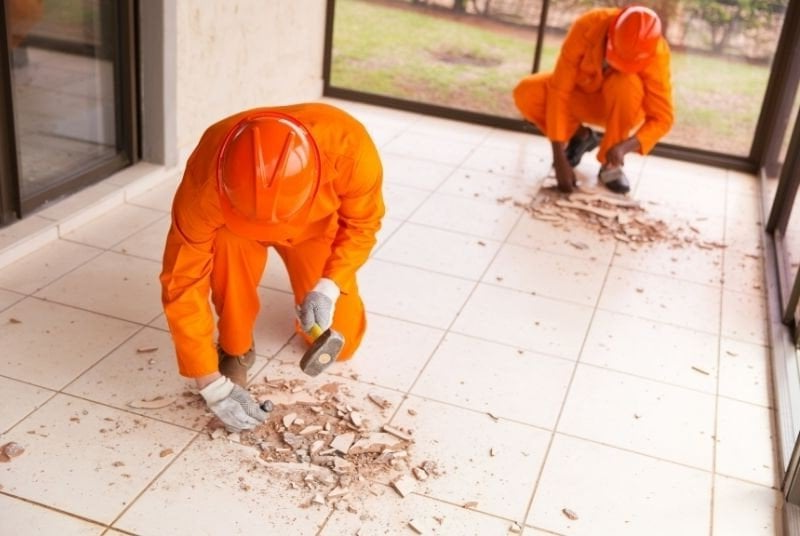
Surface Preparation
The subfloor must be clean, level, and structurally sound. Remove all dust, dirt, and debris with a vacuum and damp mop.
Check for any cracks or damage in the substrate. Fill small cracks with appropriate patching compound and allow it to dry completely.
Use a spirit level to check for any uneven spots. The surface variation should not exceed 4mm over 2 metres.
Apply a waterproof membrane in wet areas like bathrooms and outdoor spaces. Let each coat dry according to the manufacturer's instructions.
Test the surface moisture content - it should be below 5% before proceeding with installation.
Laying the Tiles
The proper installation of tiles requires careful planning, precise adhesive application, and meticulous placement techniques to achieve professional results. Following our proven methods ensures your tiling project meets industry standards.
Setting Out Your Starting Point
Start by marking your reference lines on the floor using a chalk line. These lines must be perfectly square to ensure proper tile alignment throughout the room.
We recommend beginning from the centre of the room and working outwards. This approach helps distribute cut tiles evenly around the perimeter.
Place loose tiles along your reference lines to check the layout. Adjust the starting point if needed to avoid narrow cuts at walls or doorways.
Keep a carpenter's square handy to maintain 90-degree angles at all intersections.
Applying Adhesive Correctly
Mix the tile adhesive according to the manufacturer's instructions. Use only enough water to achieve a smooth, creamy consistency.
Apply adhesive to the floor using a notched trowel at a 45-degree angle. Work in small sections of 1-2 square metres to prevent the adhesive from drying.
Create consistent ridges in the adhesive by maintaining even pressure on the trowel. This ensures proper coverage and support for the tiles.
Check the adhesive regularly for skinning. If the surface becomes dry, remove and replace it with fresh adhesive.
Placing the Tiles
Position each tile with firm downward pressure, using a slight twisting motion to ensure proper adhesive contact.
Use tile spacers between each tile to maintain consistent grout lines. Check the level frequently with a spirit level.
Remove excess adhesive from grout lines immediately with a damp cloth. Clean tile surfaces before the adhesive dries.
Check alignment every few tiles using a straight edge. Make adjustments while the adhesive is still workable.
For large-format tiles, use tile levelling clips to prevent lippage between adjacent tiles.
Grouting and Finishing
The proper application of grout and thorough cleaning creates a professional, lasting finish that protects your tiles and enhances their appearance. A neat grouting job requires attention to detail and the right tools.
Mixing and Applying Grout
Mix the grout powder with clean water in a bucket according to the manufacturer's instructions. We recommend using a margin trowel to achieve a smooth, lump-free consistency similar to peanut butter.
Let the mixture rest for 10 minutes before applying. This allows the chemicals to properly activate and ensures optimal bonding strength.
Using a rubber float held at a 45-degree angle, spread the grout diagonally across the tiles. Work in small sections of 1-2 square metres to prevent premature drying.
Pack the grout firmly into the joints, ensuring complete coverage without gaps or air pockets. Remove excess grout from the tile surfaces as you go.
Cleaning and Buffing Tiles
Wait 15-30 minutes until the grout becomes firm but not completely hard. The timing varies based on temperature and humidity conditions.
Wipe the tiles with a damp sponge in circular motions to remove residual grout. Rinse the sponge frequently in clean water.
After 2-3 hours, a light haze will form on the tiles. Polish this off with a clean, dry cloth or microfibre towel.
Leave the area untouched for 24 hours to allow proper curing. Avoid walking on the tiles during this time.
Seal the grout lines after 72 hours using a quality penetrating sealer to protect against stains and moisture.
Maintenance Tips
Proper tile maintenance ensures your investment lasts for years while maintaining its aesthetic appeal. We recommend following these essential practices to keep your tiles pristine and functional.
Regular Cleaning Practices
We suggest using a pH-neutral cleaner specifically designed for tiles to prevent damage to grout and sealant. Clean spills immediately to prevent staining and surface damage.
For everyday cleaning, sweep or vacuum loose dirt and debris before mopping. A microfibre mop works best for most tile surfaces.
Mix warm water with the appropriate cleaner according to package instructions. Avoid using bleach or ammonia-based products that can damage grout.
We recommend cleaning grout lines every 3-4 months using a soft brush and specialised grout cleaner. Apply a grout sealer annually to protect against moisture and staining.
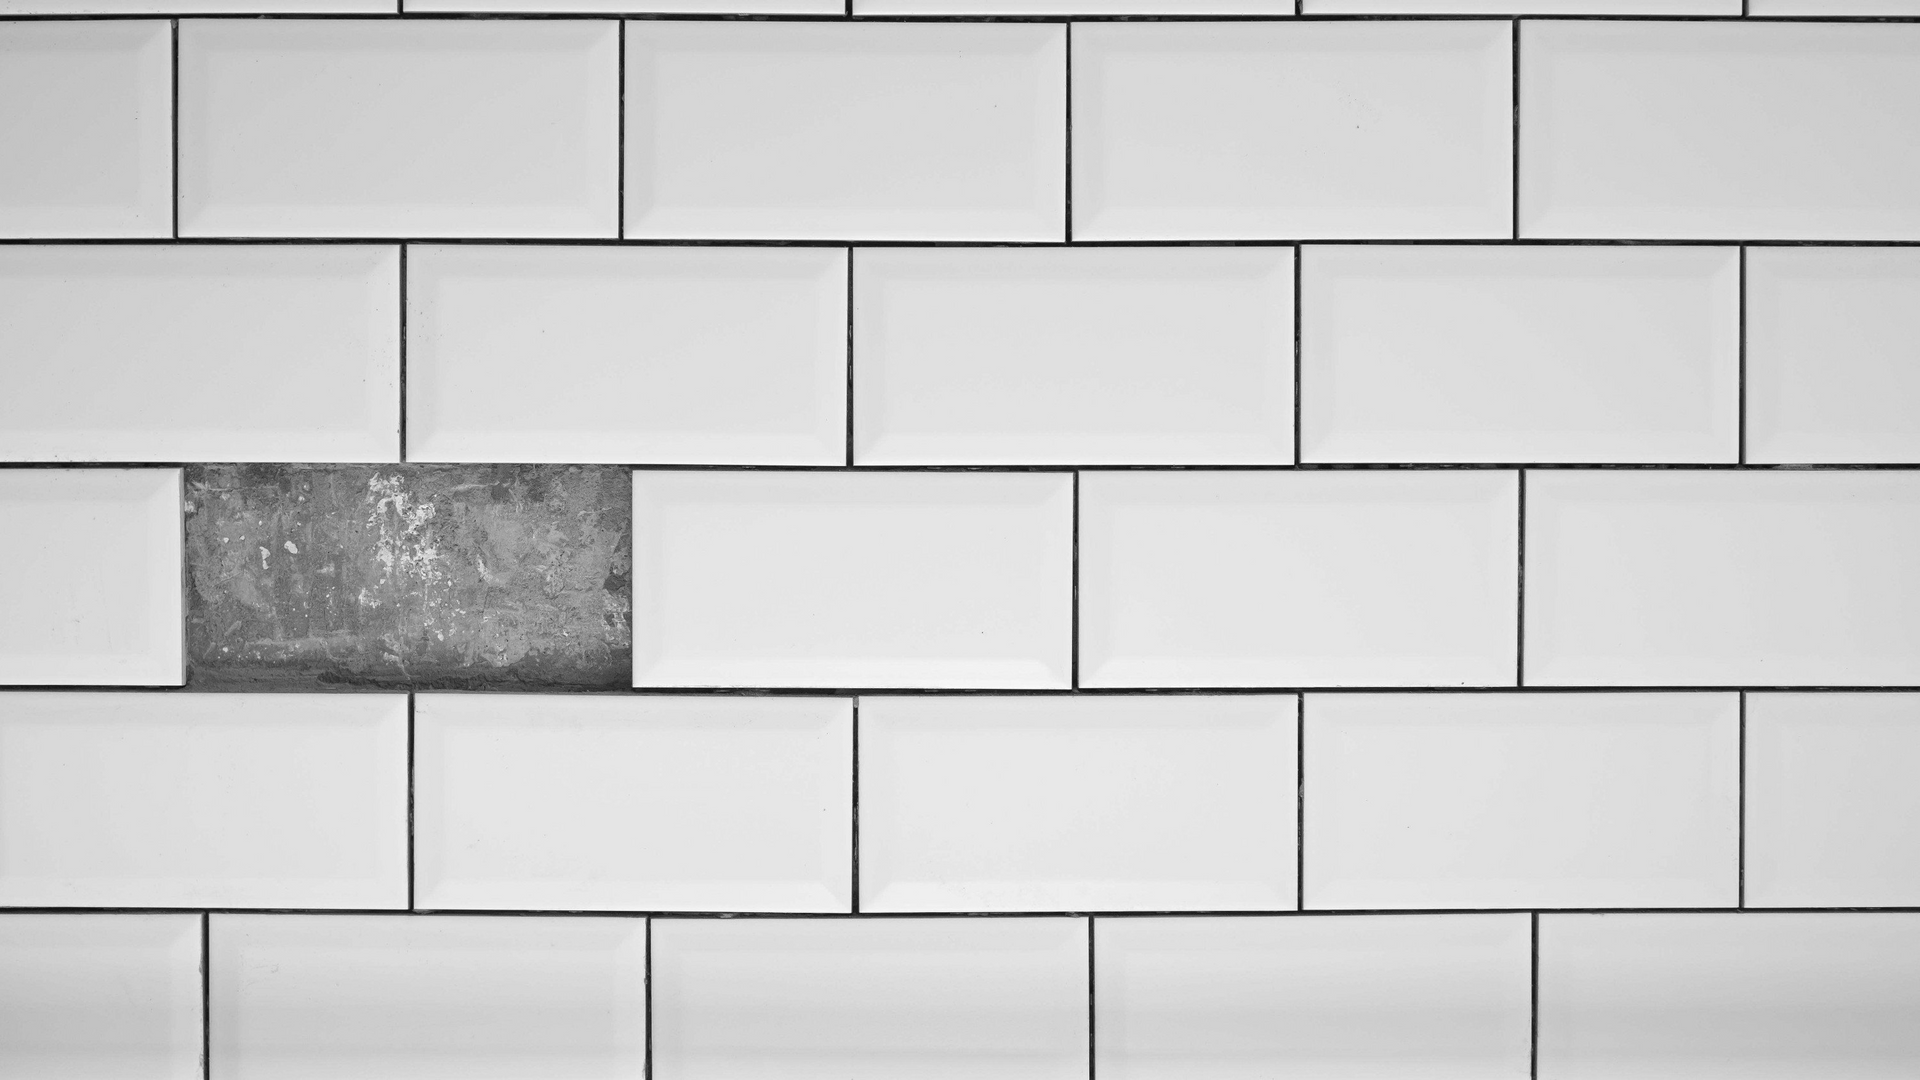
Dealing With Damages
Small chips or cracks require prompt attention to prevent further deterioration. We can replace individual damaged tiles without disrupting the entire floor.
For loose tiles, we recommend consulting a professional immediately. Attempting DIY repairs might cause additional damage to surrounding tiles.
If you notice cracking grout, remove the damaged section and regrout the area. Use a grout that matches the existing colour and type.
Check for water damage regularly, especially in wet areas. Look for discoloured grout or loose tiles, as these indicate potential water penetration issues.