
Tiling Mistakes to Avoid During a Renovation
Renovating your home can be exciting, but tiling mistakes can turn your dream project into a costly nightmare. At Sydney Tiling Specialists, we've seen countless homeowners face expensive repairs due to common tiling errors that could have been easily prevented.
Poor surface preparation, incorrect adhesive selection, and rushed installation are the primary culprits behind tiling failures in Sydney homes. These mistakes often lead to cracked tiles, water damage, and complete re-tiling within months of completion.
We've compiled our most important insights from years of fixing botched tiling jobs across Sydney. Understanding these critical mistakes before you start your renovation will save you thousands of dollars and weeks of frustration.
Key Takeaways
- Proper surface preparation and correct adhesive selection prevent most tiling failures
- Rushing installation leads to poor alignment and costly repairs
- Professional guidance ensures long-lasting results and avoids expensive mistakes
Common Tiling Mistakes to Avoid During Renovation
Proper surface preparation, careful layout planning, precise measurements, and selecting appropriate tile materials form the foundation of successful tiling projects. These critical steps prevent costly repairs and ensure long-lasting results.
Incorrect Surface Preparation
We see many renovations fail because homeowners skip proper surface preparation. The substrate must be completely clean, level, and structurally sound before any tiles go down.
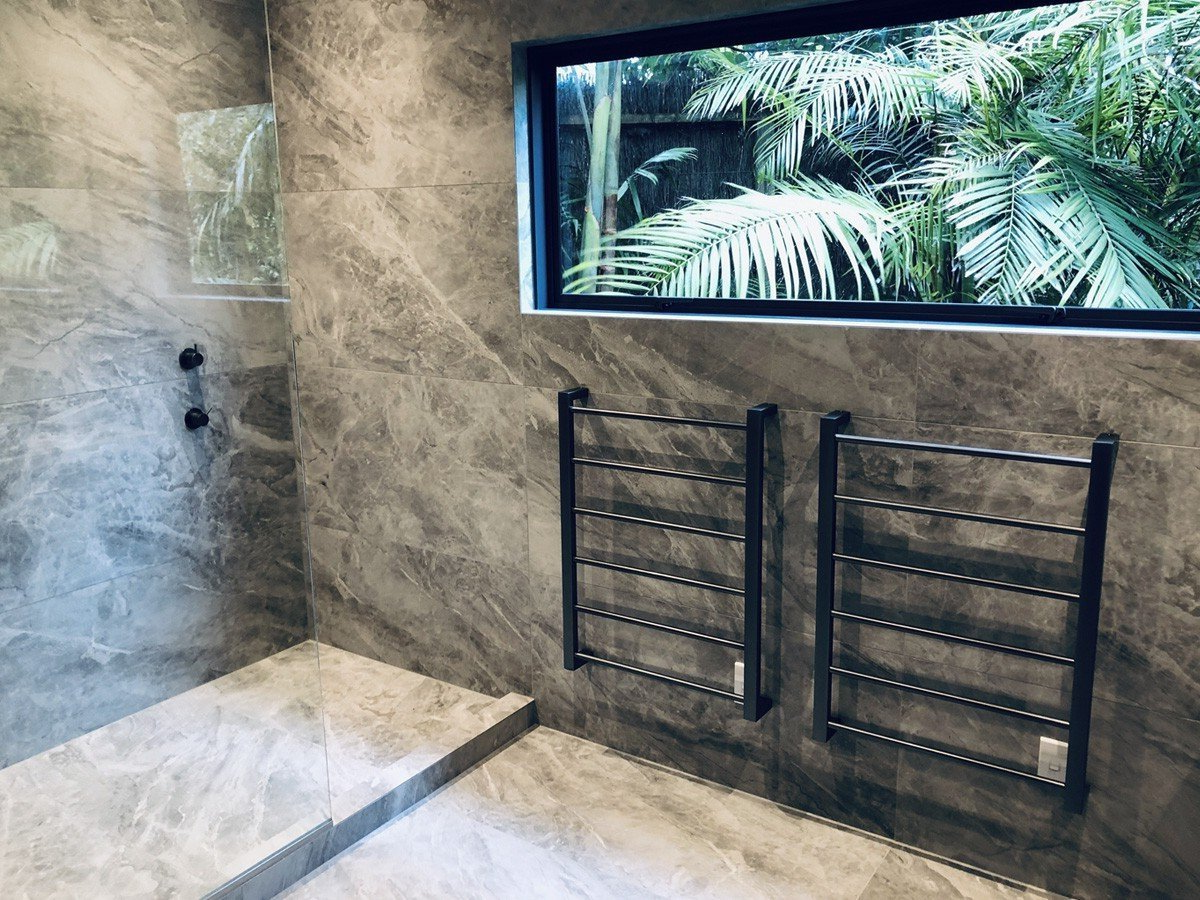
Moisture issues cause the most problems. We always check for leaks behind walls and ensure proper waterproofing membranes are installed in wet areas like bathrooms and kitchens.
To guarantee watertight results, our team follows the same strict standards used in our professional bathroom tiling services in Sydney, ensuring long-term protection against leaks and moisture damage.
Uneven surfaces create lippage between tiles. A 3mm variation across 2 metres requires levelling compound or additional substrate work.
Common preparation errors include:
- Not removing old adhesive residue
- Failing to prime porous surfaces
- Installing over loose or damaged substrate
- Skipping moisture barrier installation
Dust and debris prevent proper adhesion. We thoroughly vacuum and wipe down all surfaces with a damp cloth before applying adhesive.
Poor Tile Layout Planning
Starting installation without a proper layout leads to awkward cuts and unbalanced appearance. We always dry-lay tiles first to identify potential issues.
Centring the layout creates the most professional result. Mark the centre point of walls and floors, then work outward to avoid thin slivers at edges.
Door openings and high-traffic areas should showcase full tiles. Plan cuts to fall in less visible corners or behind fixtures where possible.
Key layout considerations:
- Tile orientation and pattern direction
- Grout line alignment and spacing
- Transition points between rooms
- Feature wall focal points
We use chalk lines and spacers during dry-fitting to visualise the final result. This prevents expensive mistakes once adhesive is applied.
Inaccurate Measurements and Cutting
Precision in measuring and cutting tiles determines the finished quality. We measure twice and cut once to avoid waste and gaps.
Cutting techniques vary by tile material. Porcelain requires diamond blades, while natural stone needs wet cutting to prevent chipping.
Inside corners need precise 45-degree mitres for clean edges. We use angle grinders with steady hands or tile wet saws for accuracy.
Measurement mistakes include:
- Not accounting for tile thickness at transitions
- Forgetting expansion gaps around perimeters
- Miscalculating quantities and ordering insufficient materials
- Poor marking technique leading to wrong cuts
Complex cuts around pipes and fixtures require templates. We create cardboard patterns first, then transfer measurements to tiles for perfect fits.
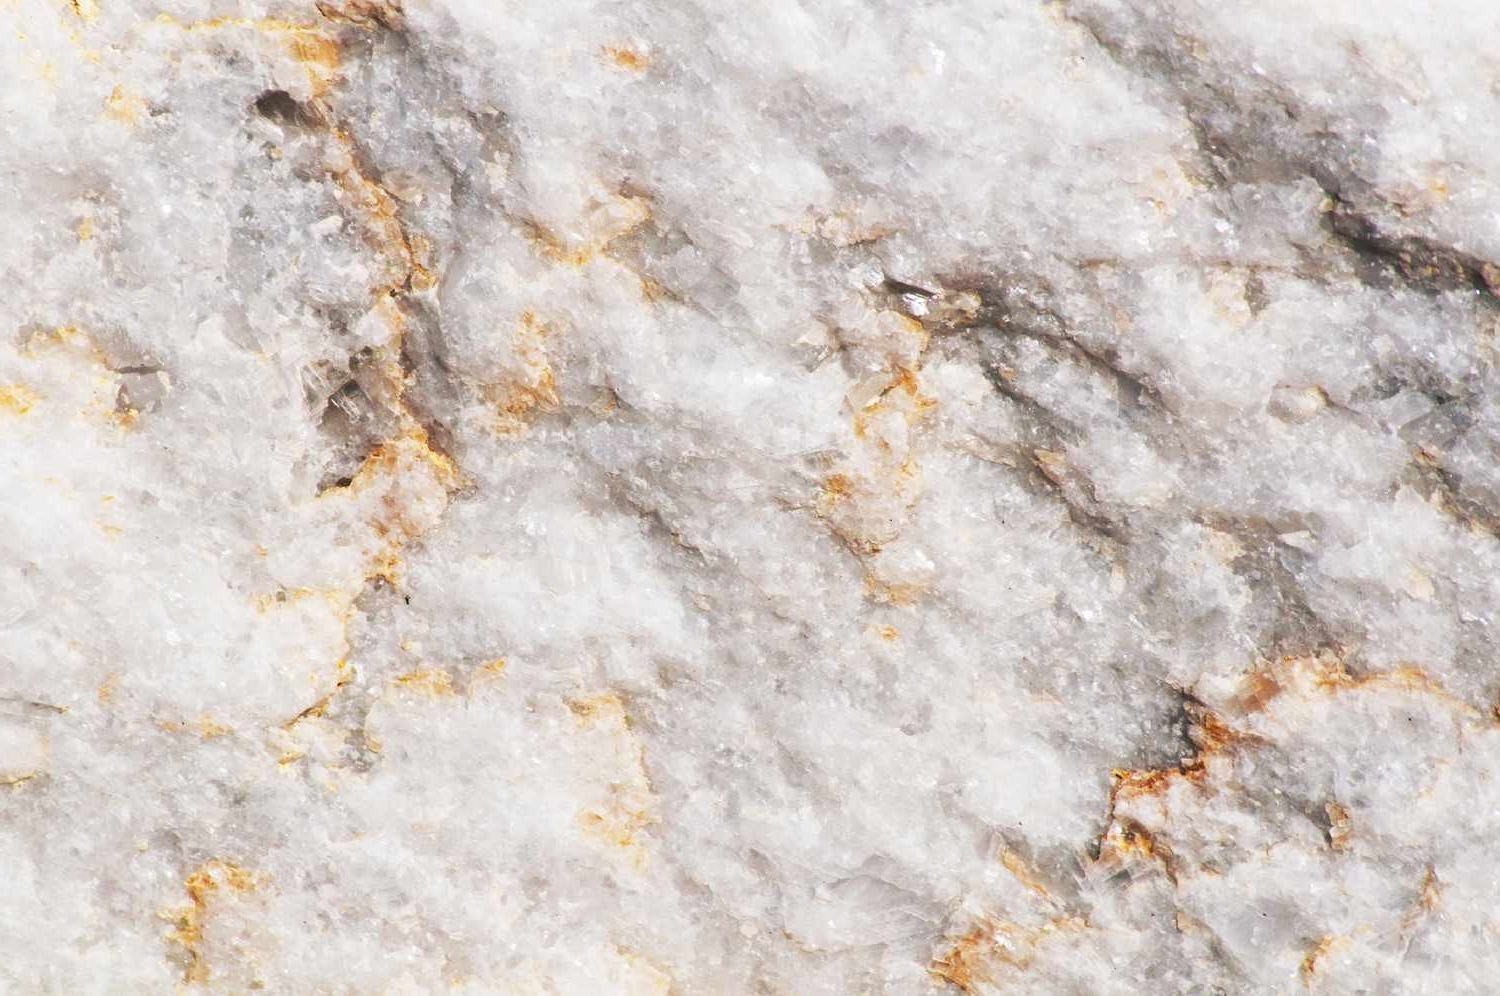
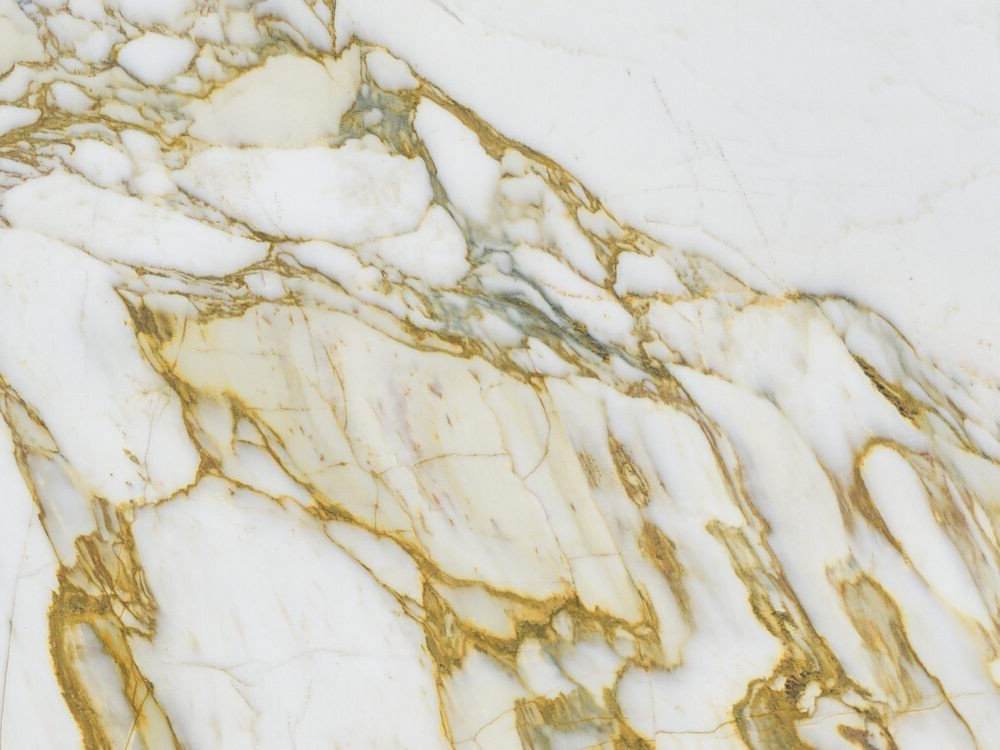
Choosing the Wrong Tile Type
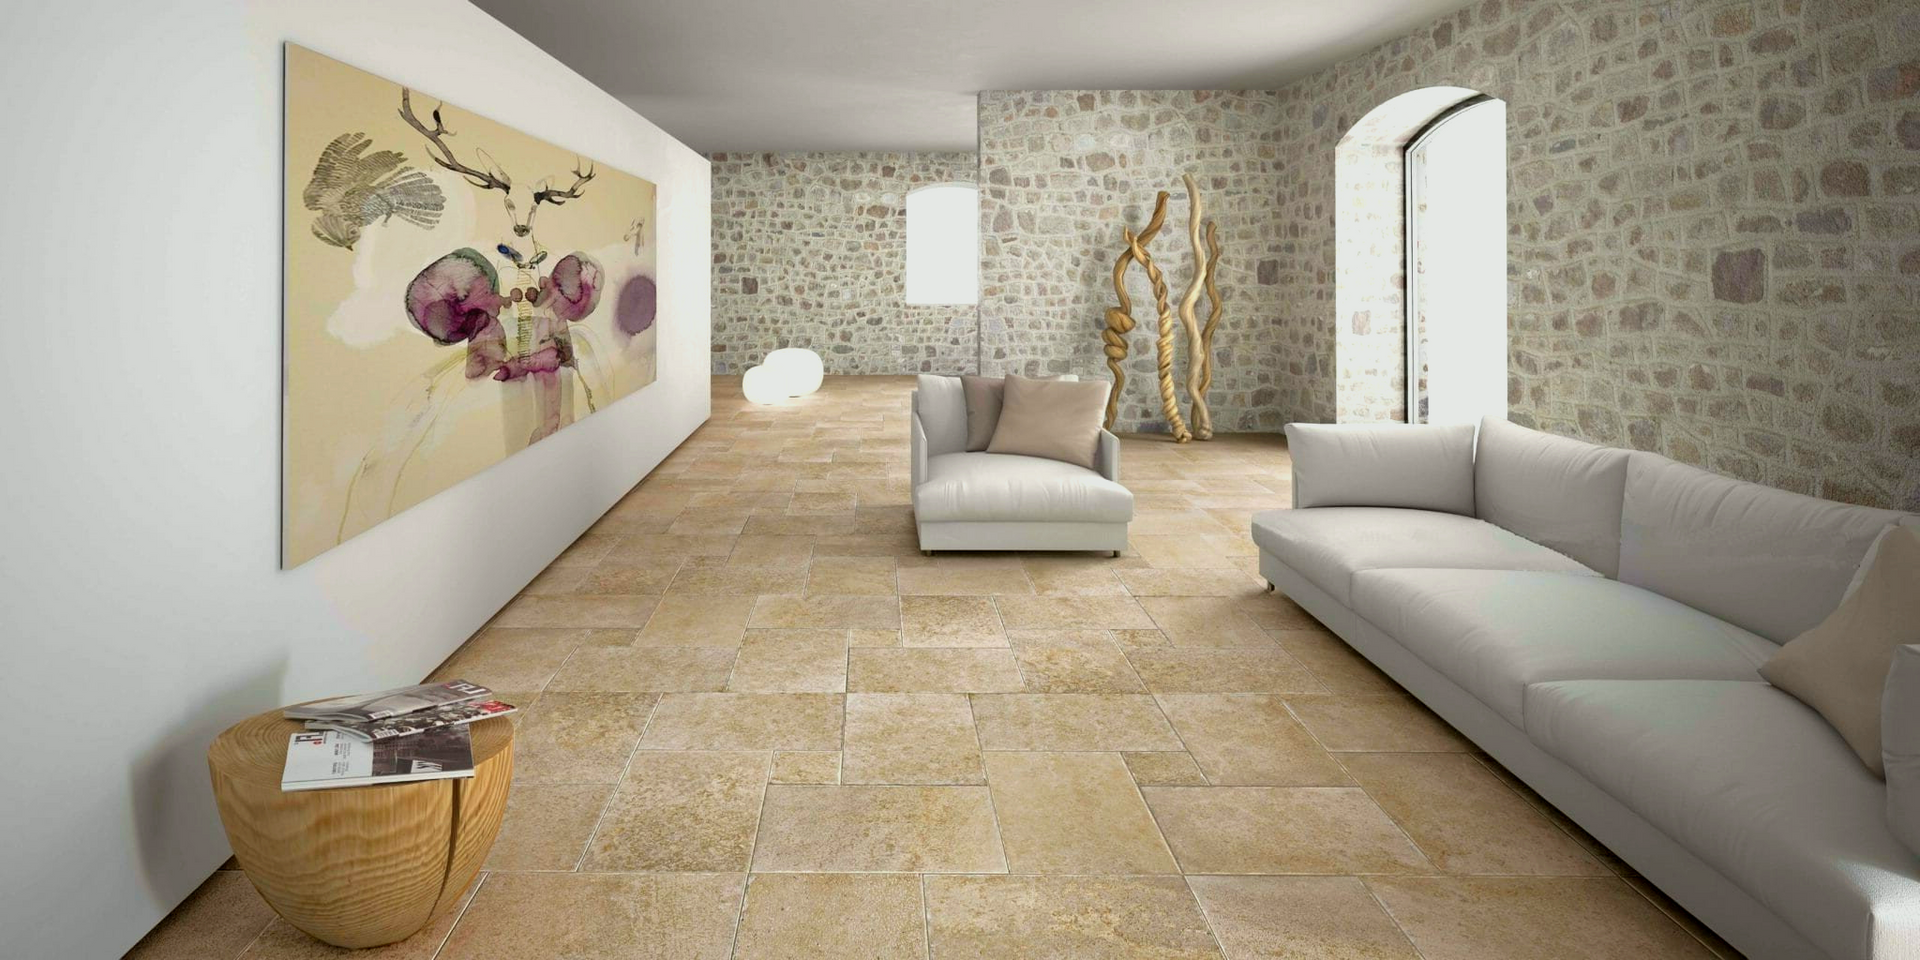
Different areas require specific tile properties for durability and safety. We match tile characteristics to their intended use and environment.
Slip resistance ratings matter for wet areas. Tiles need R10 minimum for bathrooms and R11 for external areas under Australian standards.
Porosity affects maintenance requirements. Dense porcelain suits high-traffic areas, while natural stone needs regular sealing in kitchens and bathrooms.
Selection factors include:
- Water absorption rates for wet areas
- Thermal expansion in direct sunlight
- Chemical resistance for cleaning products
- Load-bearing capacity for heavy furniture
Wall tiles differ from floor tiles in strength and finish. We never use wall-only rated tiles on floors as they cannot handle foot traffic loads.
Grouting and Adhesive Issues in Sydney Homes
Sydney's coastal climate and varied soil conditions create specific challenges for tile adhesion and grouting. Poor adhesive selection and inconsistent grout application lead to premature tile failure and costly repairs.
Using the Wrong Adhesive for Local Conditions
Sydney's humidity levels fluctuate dramatically between seasons. We see many renovations fail because homeowners choose standard adhesives instead of moisture-resistant formulations.
Coastal properties require specialised adhesives that resist salt air corrosion. Standard cement-based adhesives deteriorate quickly within 5km of the coastline.
Homeowners working on coastal renovations can also explore our outdoor tiling solutions across Sydney, designed to handle salt exposure, humidity, and harsh weather conditions.
Clay soil areas like Strathfield and Burwood experience significant ground movement. We recommend flexible adhesives with polymer additives to accommodate substrate shifts.
Bathroom applications demand waterproof adhesives, not just water-resistant ones. The difference becomes critical around shower recesses and bath surrounds.
Temperature variations in Sydney range from 8°C to 46°C annually. Adhesives must maintain bond strength across this entire spectrum without becoming brittle or losing grip.
Inconsistent Grout Lines
We observe three common grout line problems in Sydney renovations. Uneven spacing creates visual distortion and structural weak points.
Tile spacers must remain consistent throughout the installation. Hand-spacing tiles results in gaps ranging from 2mm to 8mm within the same surface.
Grout removal requires complete extraction before applying fresh material. Partial removal creates colour variations and bonding failures.
Different grout widths affect structural integrity:
- 1-2mm gaps: Suitable for rectified tiles only
- 3-5mm gaps: Standard for most ceramic applications
- 6-10mm gaps: Required for natural stone installations
Humidity affects grout curing in Sydney's climate. We schedule grouting during stable weather periods to ensure consistent results.
Insufficient Curing Time
Sydney's variable weather conditions demand extended curing periods. We enforce minimum waiting times regardless of product manufacturer recommendations.
Initial set time extends during high humidity periods common from December to March. Standard 24-hour curing becomes 36-48 hours in coastal suburbs.
Traffic restrictions must account for Sydney's temperature swings. Foot traffic too early causes micro-cracks that appear months later.
Moisture protection becomes critical during Sydney's sudden downpours. Uncured adhesive and grout require plastic sheeting coverage until fully set.
We test cure strength using simple pressure tests rather than relying on visual assessment alone.
Tips for a Successful Tiling Renovation with Sydney Tiling Specialists
Professional installation, proper waterproofing, and strict safety compliance form the foundation of any successful tiling project. These three elements determine both the longevity of your renovation and your satisfaction with the final result.
If you’re planning a full renovation or new build, our comprehensive tiling services across Sydney cover every stage — from design consultation and surface preparation to installation and finishing.
Hiring Licensed Professionals
We recommend verifying all contractors hold current NSW building licences before commencing any tiling work. Licensed professionals understand Australian building codes and can legally perform structural modifications if required.
Key qualifications to check:
- Current NSW contractor licence
- Public liability insurance coverage
- Workers compensation certificates
- Trade references from recent projects
We always provide detailed written quotes that specify materials, labour costs, and project timelines. This protects both parties and prevents cost blowouts during renovation.
Our team completes ongoing training in new tiling techniques and products. This ensures we can recommend the most suitable materials for your specific application, whether it's bathroom walls or outdoor entertaining areas.
Professional installation includes proper surface preparation, accurate measurements, and precise cutting. We use specialised tools that achieve results impossible with DIY approaches.
Understanding Moisture and Waterproofing Requirements
Australian Standard AS 3740 mandates waterproofing in wet areas including bathrooms, laundries, and balconies. We apply waterproof membranes before tiling to prevent water damage to structural elements.
Shower areas require waterproofing to minimum heights:
- 1800mm above finished floor level on shower walls
- 150mm above finished floor level on other bathroom walls
- Full coverage on shower floors with proper falls to waste
We select appropriate adhesives and grouts based on moisture exposure levels. Flexible adhesives accommodate building movement in wet areas, while epoxy grouts resist staining and moisture penetration.
Proper drainage slopes prevent water pooling on tiled surfaces. We create falls of 1:100 minimum on internal floors and 1:80 on external areas like balconies.
Prioritising Safety and Compliance
We follow WorkSafe NSW requirements for all renovation projects, including dust control measures and appropriate personal protective equipment. This protects both our workers and your family during construction.
Safety measures we implement:
- Dust extraction systems during cutting
- Hazardous material identification and removal
- Secure work area barriers
- Daily site cleanup procedures
Building approvals may be required for structural changes or waterproofing modifications. We identify permit requirements early in the planning process to avoid project delays.
We use low-VOC adhesives and sealants to maintain indoor air quality during and after installation. This is particularly important in bedrooms and living areas where family members spend extended time.
Electrical safety around wet areas requires qualified electrician involvement for any power point or lighting modifications. We coordinate with licensed electricians to ensure compliance with AS/NZS 3000 wiring standards.